
Uploading data into a SQL database manually typically involves using SQL statements or a database management tool to input data into tables. you’ll need access to a SQL database management system. Common options include MySQL, PostgreSQL, SQL Server, and SQLite. Install and set up the database system of your choice.
Create a Database
Using your database management system’s tools or SQL commands, create a new database. For example, in MySQL, you can create a database with:
CREATE DATABASE your_database_name;
Create Tables
Inside the database, you’ll need to define tables to hold your data. Tables should have appropriate columns with defined data types. For instance, in MySQL:
CREATE TABLE your_table_name (
    id INT AUTO_INCREMENT PRIMARY KEY,
    name VARCHAR(255),
    age INT
);
Insert Data
Once your tables are ready, you can start inserting data. You can use SQL INSERT statements to add data row by row. Here’s an example for MySQL:
INSERT INTO your_table_name (name, age) VALUES ('Ram', 30);
INSERT INTO your_table_name (name, age) VALUES ('Shayam', 25);
Use Database Management Tools
Many database systems offer graphical user interfaces (GUIs) or command-line tools that make data insertion easier. For example:
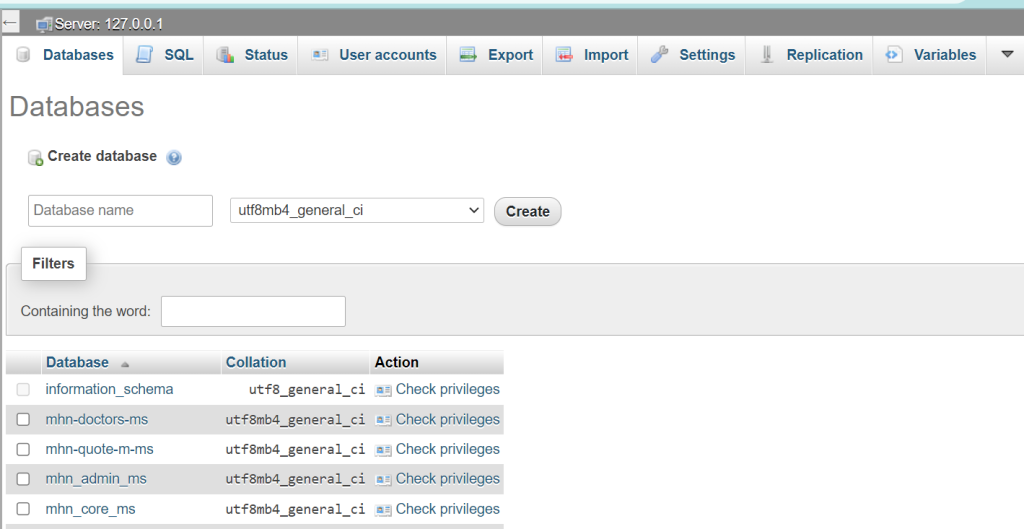
- phpMyAdmin for MySQL: A web-based tool that allows you to manage MySQL databases and perform data insertion through a user-friendly interface.
- pgAdmin for PostgreSQL: A popular GUI tool for PostgreSQL, which provides similar functionality.
Verify Data
After inserting data, it’s a good practice to verify that it’s correctly stored. You can run SQL SELECT queries to retrieve data from your tables:
SELECT * FROM your_table_name;
This will display the data you’ve inserted.
Backup Data
Always ensure you have backups of your data. Database systems offer mechanisms to export and back up data, which can be crucial in case of data loss or corruption.
Secure Data
If your database contains sensitive information, it’s essential to secure it properly. Set up user accounts with appropriate permissions and consider encryption and access control measures.
Document Everything
Keep documentation of your database schema, data insertion scripts, and any modifications. This will help in troubleshooting and future development.
Remember that manually inserting data is suitable for small datasets or one-time operations. For larger or more frequent data uploads, consider using data import tools, ETL (Extract, Transform, Load) processes, or scripts to automate the process.