Importing and exporting SQL files is a fundamental task for database administrators and developers working with MySQL databases. Whether you’re migrating data between servers, backing up your database, or sharing schema structures, knowing how to efficiently import and export SQL files is essential.
1. Exporting SQL Files:
a. Using Command-Line Tools: MySQL provides command-line utilities like mysqldump to export SQL files easily. To export a database, execute the following command:
mysqldump -u username -p database_name > dump_file.sql
Replace “username” with your MySQL username, “database_name” with the name of the database you want to export, and “dump_file.sql” with the desired filename for the exported SQL file.
b. Using MySQL Workbench: MySQL Workbench offers a graphical interface for managing databases, including the ability to export SQL files. Simply connect to your database, right-click on the database name, select “Export”, choose the desired options, and save the SQL file.
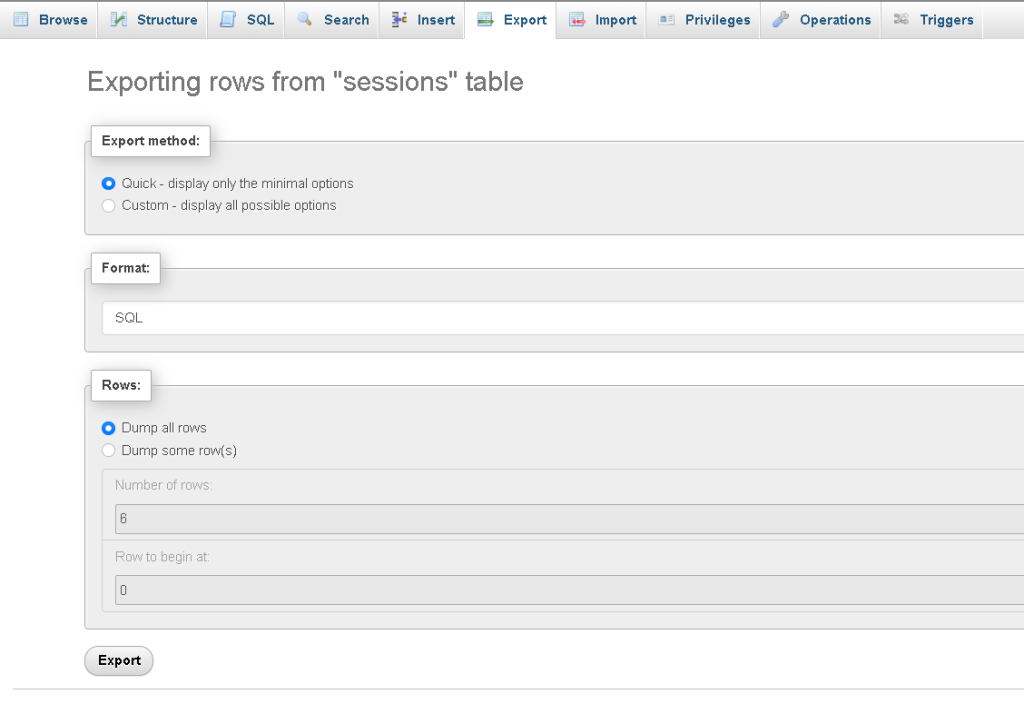
c. Using phpMyAdmin: phpMyAdmin is a popular web-based database management tool that also supports exporting SQL files. After logging in, select the database you want to export, click on the “Export” tab, choose the export method (e.g., Quick, Custom), and download the SQL file.
2. Importing SQL Files:
a. Using Command-Line Tools: To import a SQL file using the command line, execute the following command:
mysql -u username -p database_name < dump_file.sql
Replace “username” with your MySQL username, “database_name” with the name of the target database, and “dump_file.sql” with the path to the SQL file you want to import.
b. Using MySQL Workbench: In MySQL Workbench, navigate to the “Server” menu, select “Data Import”, choose the import source (e.g., Import from Self-Contained File), specify the target database, and execute the import process.
c. Using phpMyAdmin: In phpMyAdmin, select the target database, click on the “Import” tab, choose the SQL file to import, and configure any additional settings (e.g., character set). Then, click “Go” to initiate the import process.
Best Practices:
Before importing or exporting SQL files, ensure that you have the necessary permissions and credentials to access the database.
When exporting, consider using compression options (e.g., –compress with mysqldump) to reduce file size and improve transfer speed.
Verify the integrity of exported SQL files by inspecting them with a text editor or running them on a test database.
When importing, backup your existing database or perform the import on a staging environment to avoid data loss.
Pay attention to any error messages or warnings during the import process and troubleshoot as needed.