- Check for Physical Indicators: Ensure that the physical Wi-Fi hardware indicator on your laptop or device is active. It is often a LED light on your buttons that indicates whether Wi-Fi is turned on.
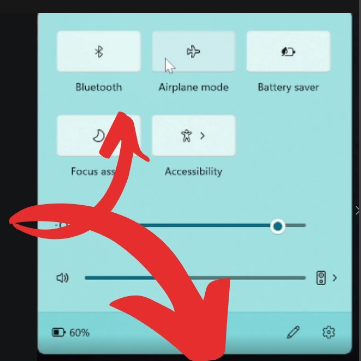
- Enable Wi-Fi: Make sure that Wi-Fi is enabled on your Windows 11 device. To do this, follow these steps:
- Click on the “Start” button in the taskbar.
- Click on the “Settings” (gear) icon to open the Settings app.
- In the Settings window, select “Network & Internet.”
- In the left sidebar, click on “Wi-Fi.”
- Ensure that the Wi-Fi switch is turned on. If it’s off, toggle it to the “On” position.
- View Available Networks: Once Wi-Fi is enabled, check if your computer can detect available networks. You can do this by:
- Clicking on the network icon in the system tray (next to the clock) on the taskbar. It looks like a series of bars or a globe.
- You should see a list of available Wi-Fi networks. If you don’t see any networks, it may indicate a hardware issue.
- Check Device Manager: You can use Device Manager to check if your Wi-Fi hardware is recognized and working correctly. Here’s how:
- Right-click on the “Start” button and select “Device Manager.”
- Expand the “Network adapters” section.
- Look for your Wi-Fi adapter. If it’s listed without any error icons (yellow triangle or red “X”), it’s likely working correctly. If you see an error, you may need to update the driver or troubleshoot further.
- Update Wi-Fi Drivers: Ensure that you have the latest drivers for your Wi-Fi hardware. To update drivers, you can:
- Right-click on your Wi-Fi adapter in Device Manager and select “Update driver.”
- Choose “Search automatically for updated driver software” and follow the on-screen instructions.
- Restart Your Computer: Sometimes a simple restart can resolve hardware-related issues. Try restarting your computer and check if the Wi-Fi is working afterward.
- Run Windows Network Troubleshooter: Windows has a built-in network troubleshooter that can help diagnose and fix common network issues. Here’s how to use it:
- Go to “Settings” > “Network & Internet.”
- In the “Status” section, click on “Network troubleshooter” and follow the on-screen prompts.
For testing of network
use the ping 127.0.0.1 command, you are testing the loopback interface on your computer. This loopback address is also known as “localhost.” It’s a special network address that always refers to the local machine, in other words, your own computer.
ping 127.0.01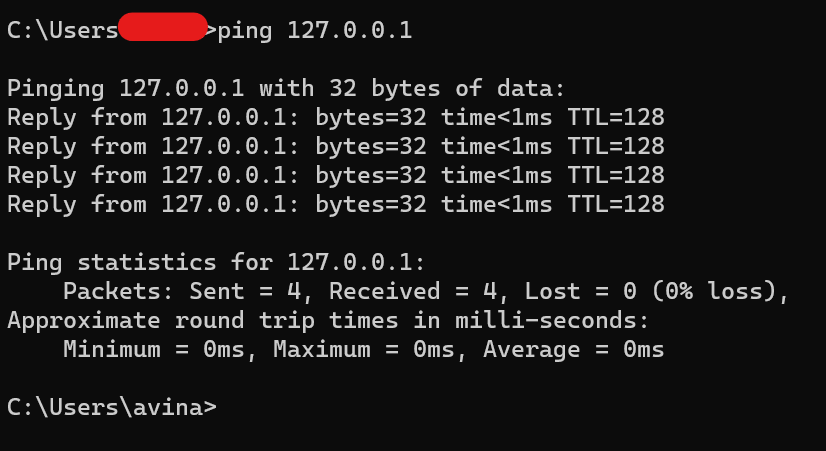
Testing Network Stack: It’s a quick and easy way to test whether your computer’s network stack is functioning correctly. When you ping 127.0.0.1, you’re essentially sending a packet to your own computer and receiving it back. If you receive responses, it indicates that the network stack is operational.
Testing Network Card: It helps diagnose issues with your computer’s network card or network driver. If you can ping the loopback address but can’t ping other IP addresses, it may suggest a problem with your network card or its driver.
Testing Network Services: Some network services, like web servers or database servers, often bind to the loopback address to make them accessible only from the local machine. By pinging 127.0.0.1, you can check whether these services are running and responding.
Isolation of Network Issues: When you’re troubleshooting network problems, pinging 127.0.0.1 can help you isolate issues. If you can ping the loopback address but not external addresses, the problem is likely related to your local computer or network settings. If you can’t ping 127.0.0.1, there may be more fundamental issues with your network stack.
Interessante o que acabei de ler aqui, existe muitos artigos em seu blog relacionado a este que acebei de ler gostei de seu blog. Cine vision filmes e series