To generate an Instagram Graph API access token, you’ll need to follow these steps:
Create a Facebook Developer Account:
- Visit the Facebook for Developers website (https://developers.facebook.com/) and create an account if you don’t have one already.
- Complete the necessary setup steps, including verifying your account.
Create a Facebook App:
- Once you have a developer account, go to the Facebook Developer Dashboard.
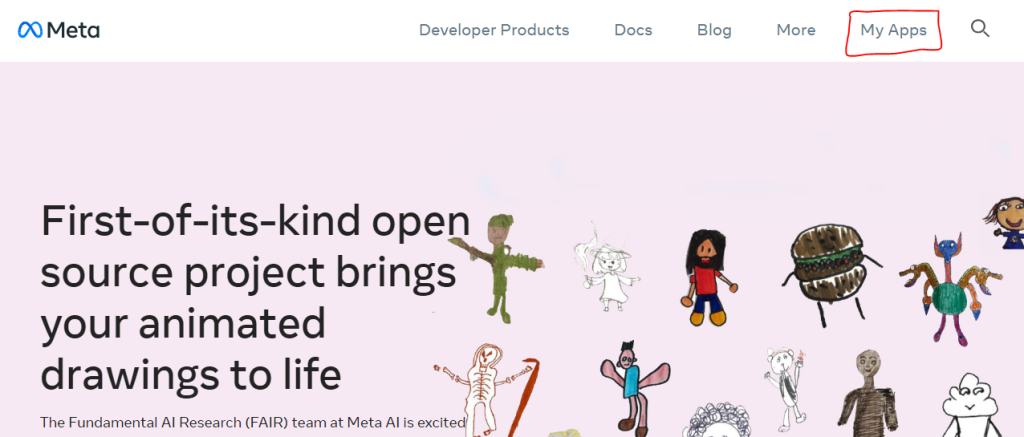
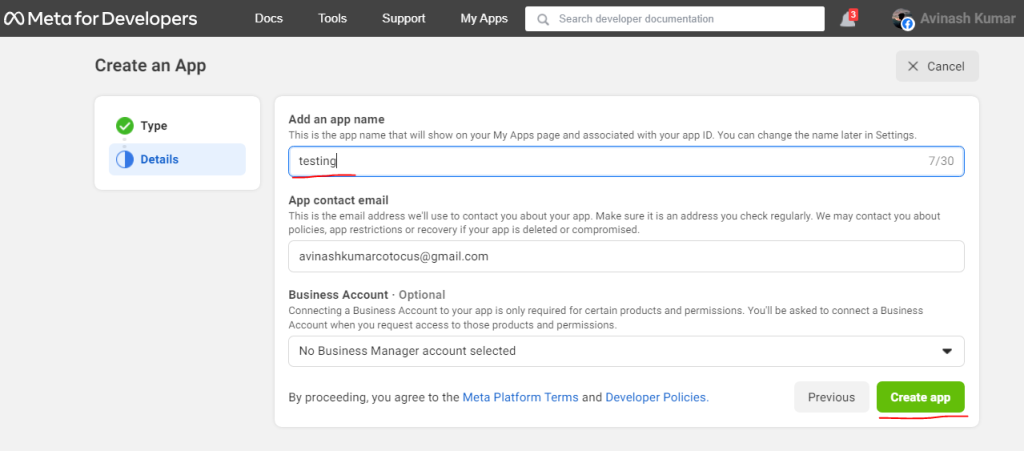
- Click on the “My Apps” button and select “Create App” to start creating a new app.
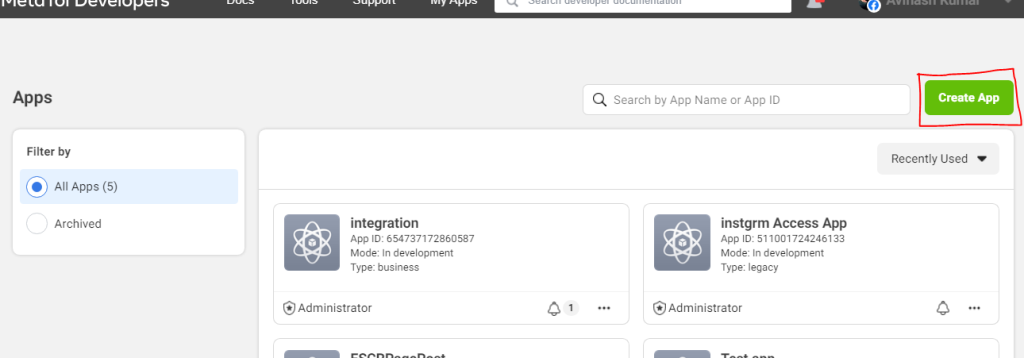
- Fill in the required information for your app, such as the name, purpose, and contact email.
Add Instagram to Your App:
- After creating your app, go to the app dashboard.
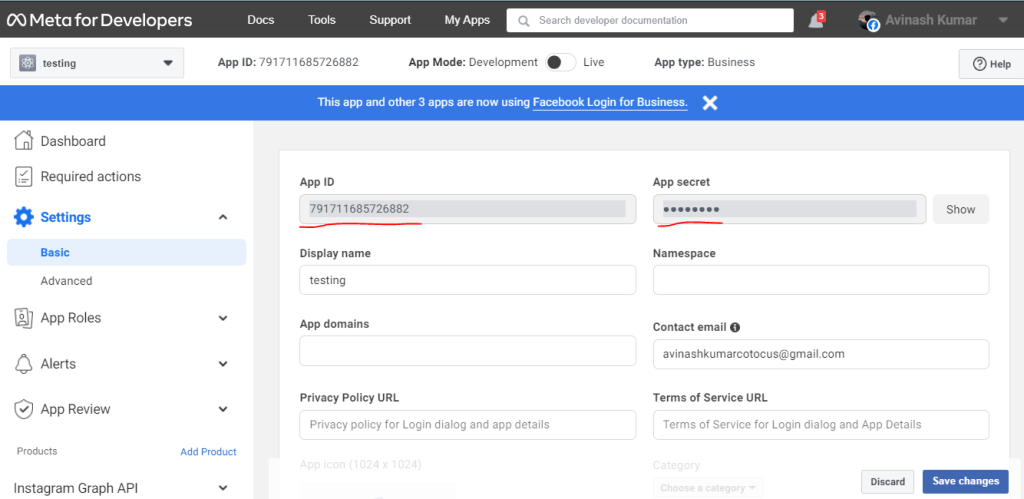
- In the left-hand menu, click on “Settings” and then “Basic.”
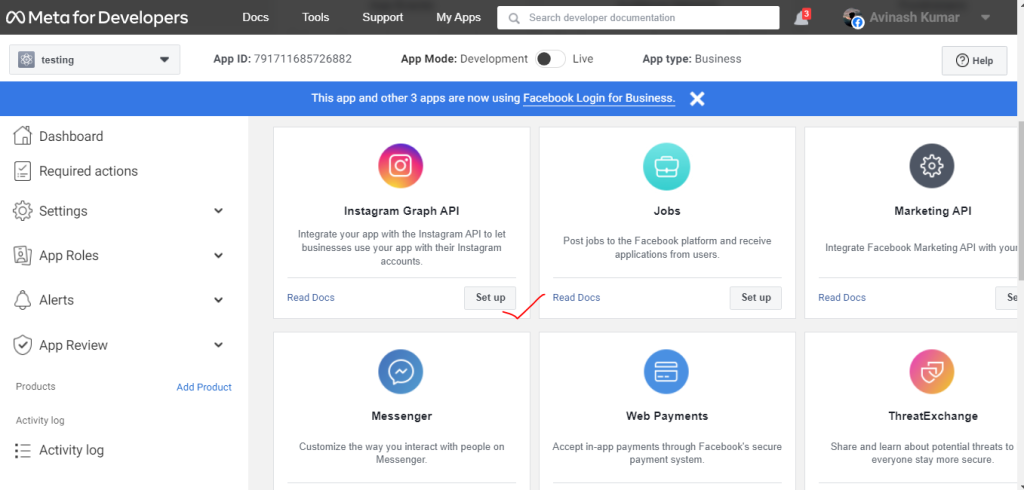
- Scroll down to the “Add Platform” section and click on the “Set Up” button next to the Instagram logo.
- Follow the instructions to connect your Instagram account to the app. This step requires you to have an Instagram account.
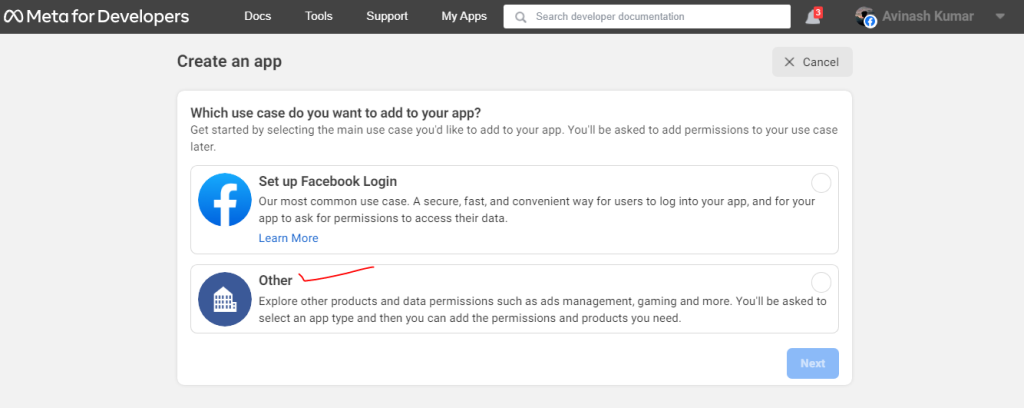
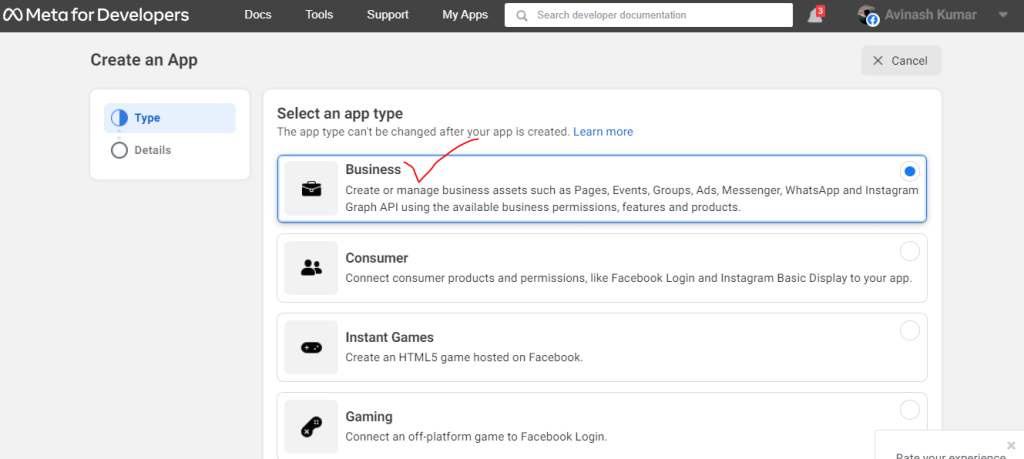
Configure App Settings:
- Once your Instagram account is connected, go back to the app dashboard.
- In the left-hand menu, click on “Instagram Basic Display.”
- Under the “Basic Display” section, you’ll find a section called “Token Generation.” Click on the “Create Token” button.
Choose Permissions:
- In the token generation window, you’ll see a list of permissions that your app can request from the Instagram Graph API.
- Select the permissions that your blog requires to access Instagram data. Keep in mind that certain permissions may require additional review and approval from Facebook.
Generate Access Token:
- After selecting the permissions, click on the “Generate Token” button.
- The generated access token will be displayed on the page.
Test and Use the Access Token:
- Copy the access token and securely store it.
- You can now use this access token in your blog’s code to make requests to the Instagram Graph API and retrieve the desired data.