
Fixing a blue screen of death has many different possible solutions, but conveniently there’s just one process you need to follow to find your blue screen of death to fix and resolve the issue.
Here’s how to fix a blue screen of death:
1. Shut down the PC that showed the BSOD
Press and hold the power button until the computer powers off. It’s okay to do this because the whole point of shutting down properly is to allow the computer to save all temporary data. It’s too late for that if the system’s already crashed — the only way to proceed is to force a shutdown.
2. Disconnect all USB devices except for the mouse and keyboard
Remove all external devices like hard drives and printers. These peripherals and their drivers might be the cause of the error.
3. Reboot the system in Safe Mode with Networking
Safe Mode is a bare-bones version of your normal Windows OS that only allows essential processes that are very unlikely to trigger another BSOD, giving you space to troubleshoot the problem.
To reboot in Safe Mode, turn your PC back on normally, and then when you see the Windows sign-in screen, press and hold the Shift key while you select Restart from the Power icon.
After your PC reboots again, you’ll be presented with the Choose an option screen. Select Troubleshoot > Advanced options > Startup Settings > Restart.
Upon restart, you’ll be given a list of options. Select F5 to start your PC in Safe Mode with Networking.
4. Uninstall recently installed software
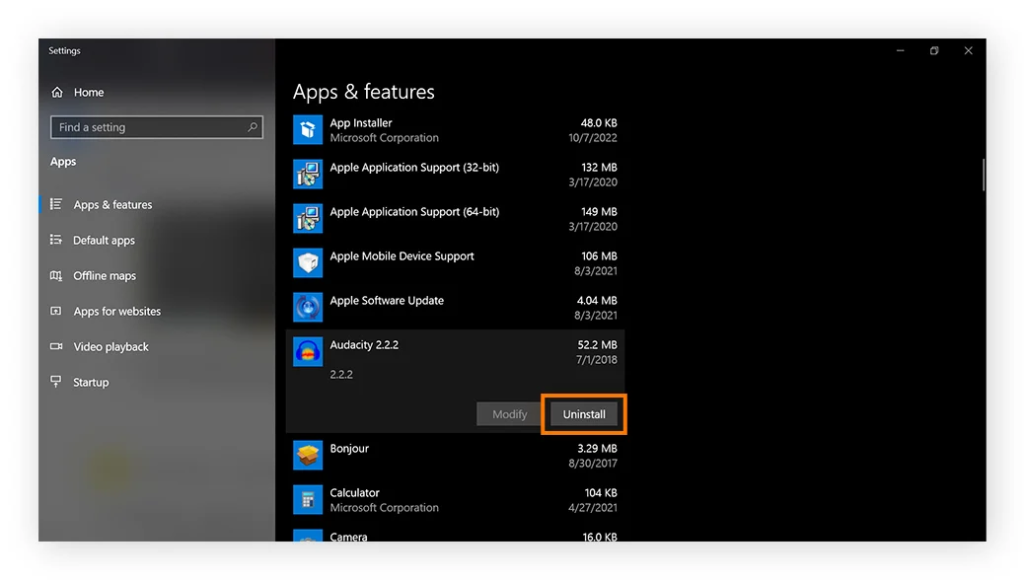
Now that you’re in Safe Mode, the first priority is to remove any recently installed software as this is very likely to be the culprit. To uninstall software in Windows, press the Windows key. Type “add or remove programs” and click Add or Remove Programs.
Then, scroll through the list of programs and search for software you recently installed or that looks unfamiliar (but leave anything with Microsoft in the name alone). Click on the program, and then click Uninstall.
While you’re at it, you should also run a scan using a junkware removal tool to jettison junk files and PUPs (potentially unwanted programs) that could be slowing you down. As well as freeing up disk space, getting rid of dead weight will help keep your PC running smoothly once you’ve completed the blue screen of death fix.
5. Roll back or disable drivers
Since recently updated drivers could be the issue, you should try undoing recent driver updates. It makes the most sense to start with display adapter drivers and non-essential components, as these tend to be the most troublesome.
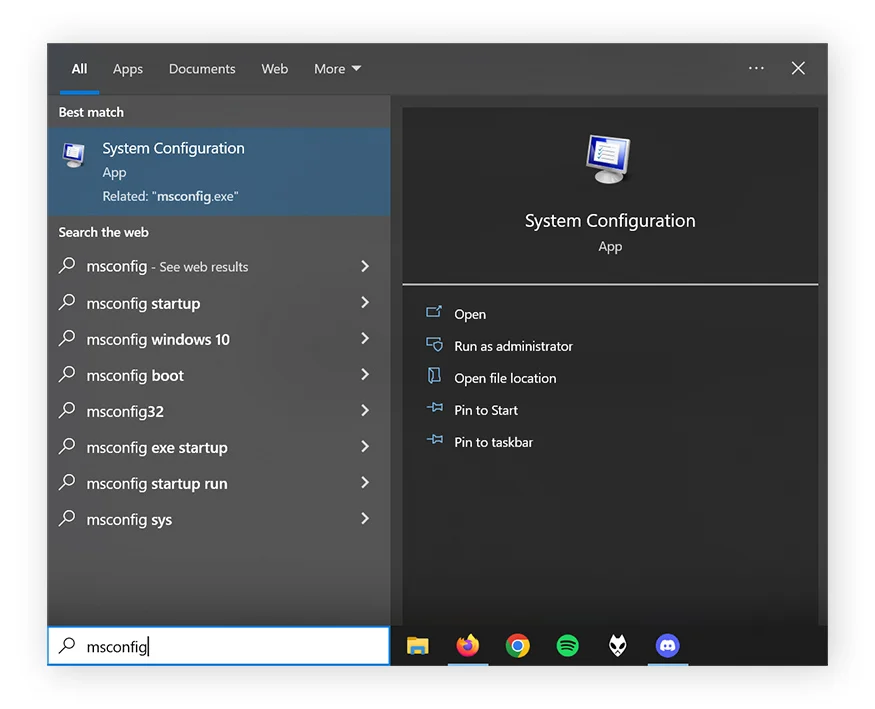
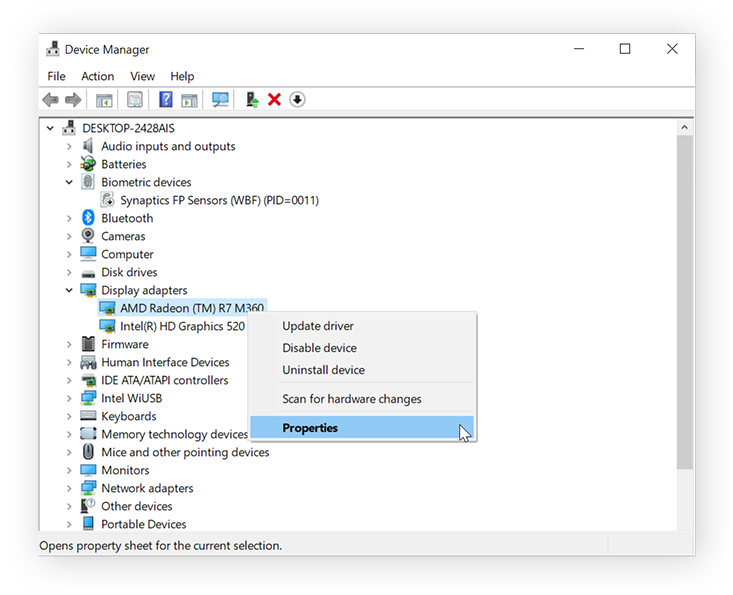
First, press the Windows Key, type “Device manager,” and hit Enter.

Then, scroll through the list of components, right-click on your selection, and choose Properties from the pop-up menu.
Finally, click the Device tab and click Roll Back Driver.
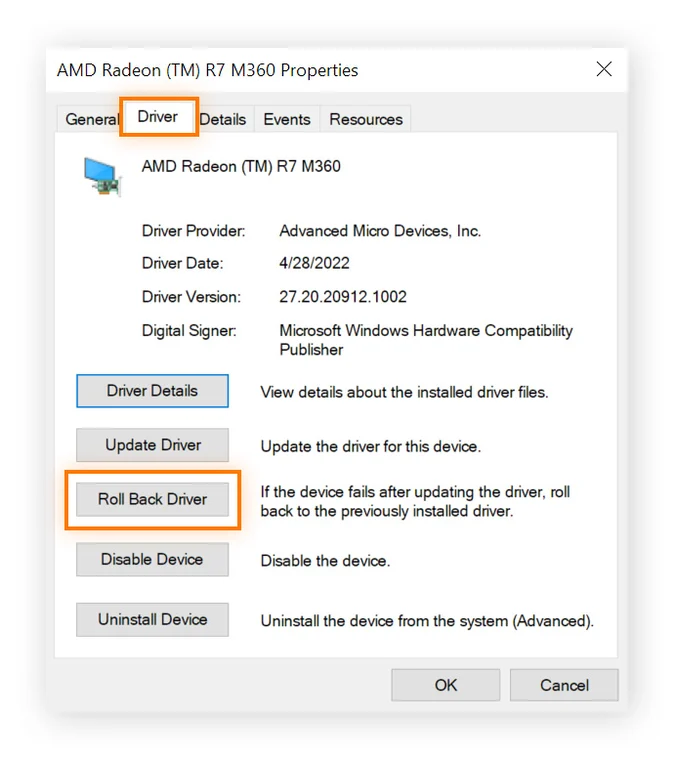
Follow the same process to roll back recent driver updates for other hardware components.
6. Scan for malware
It’s possible that a virus or malware caused the BSOD by deleting or corrupting critical system files. To prevent further disruption and ensure your PC is secure, launch your preferred malware removal tool, make sure it’s fully updated, and run a full scan to find any malware that may be lurking on your device.
Download Avast One to scan your device for malware.
7. Run an SFC Scan
Now it’s time to search for damaged or missing system files — and repair or replace them, if possible — using a System File Checker (SFC) scan. Here’s how to run a System File Checker scan using Command Prompt:
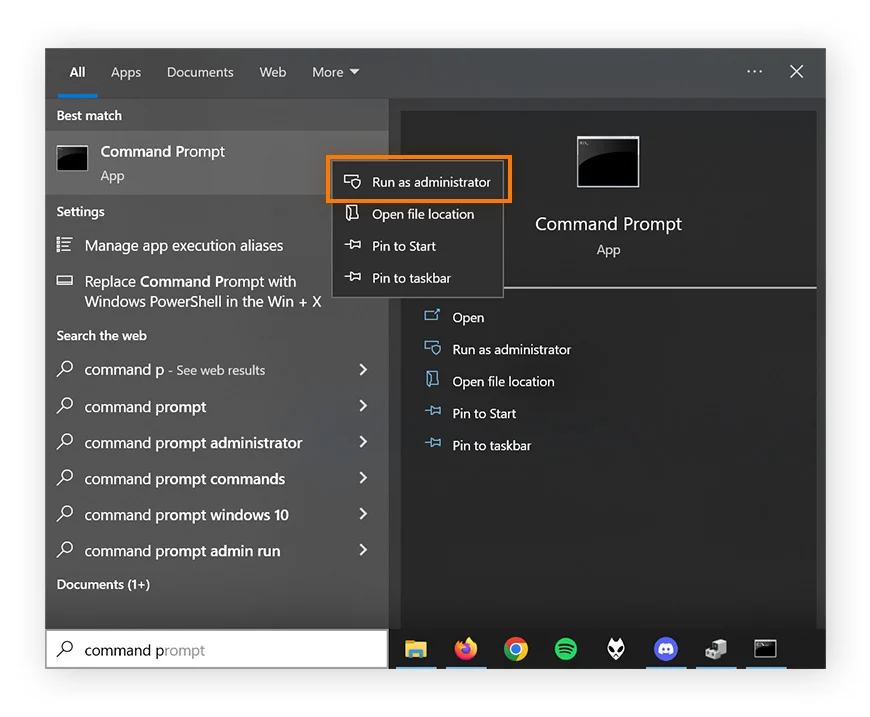
First, press the Windows key and type “cmd.” Right-click Command Prompt and select “Run as Administrator.” Select “Yes” or “OK” on any prompts that appear.
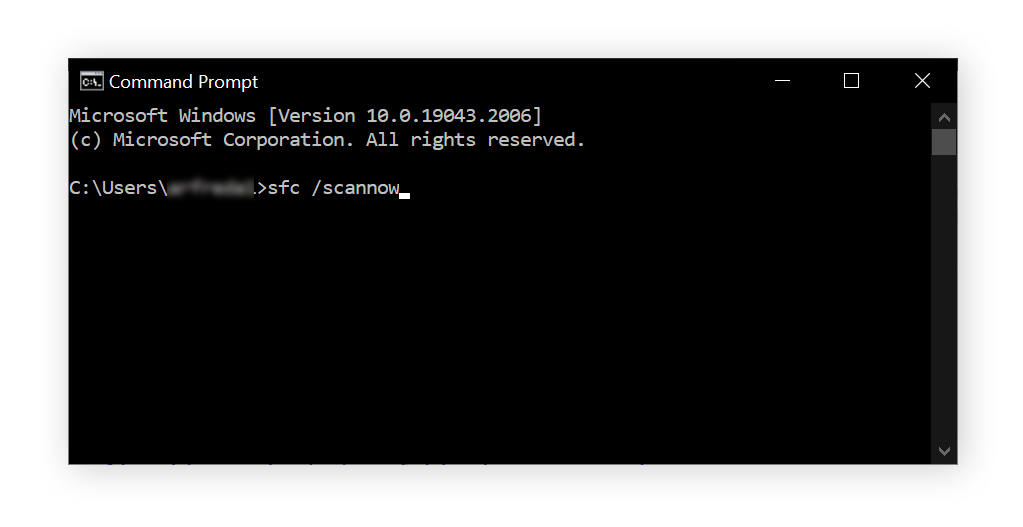
Then, type sfc /scannow into the Command Prompt dialogue box, hit Enter, and wait for the scan to complete.
8. Scan your hard drive
A CHKDSK hard drive scan looks for damaged parts of the hard drive, including corrupted file systems and physical damage to the disk itself — both common causes of the blue screen of death.
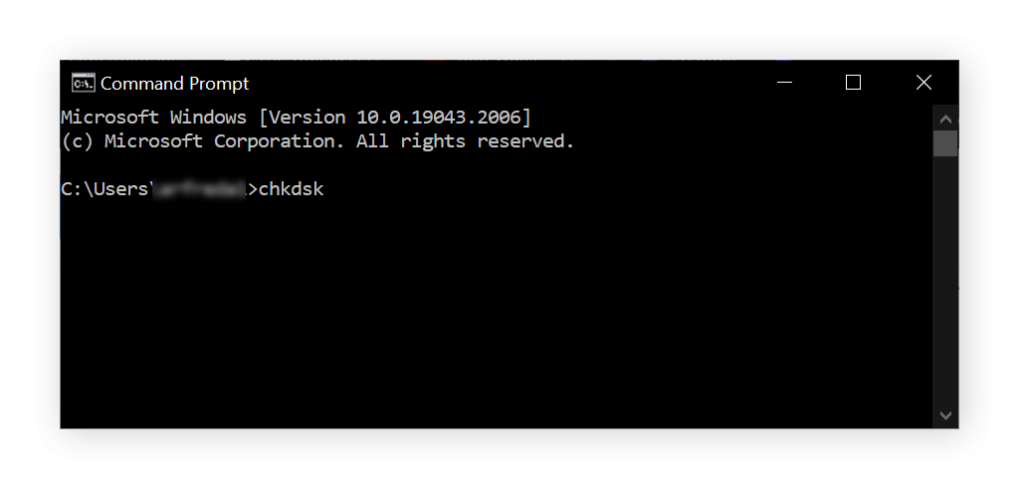
To run a CHKDSK scan, press the Windows key and type “cmd.” Right-click Command Prompt and select “Run as Administrator.” Click “Yes” or “OK” if prompted.

Then, simply type “chkdsk” and hit Enter to run the command line and initiate the scan.
If the scan identifies drive errors, you need to run a new CHKDSK process to repair them. Type “chkdsk /r” into Command Prompt and hit Enter — this will launch a deeper diagnostic scan and restore damaged hard drive sectors so that they’re readable within the file system.
Hardware does degrade over time, so if your disk is more than a few years old, you should perform this kind of hard drive test regularly to catch issues before they result in a crash.
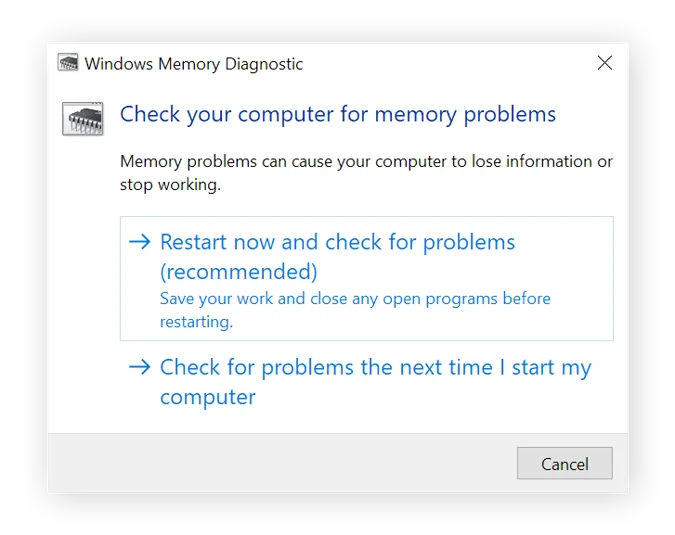
9. Check your computer’s RAM
If problems with your RAM have caused a BSOD, the Windows Memory Diagnostic tool will help you identify the specific issue.
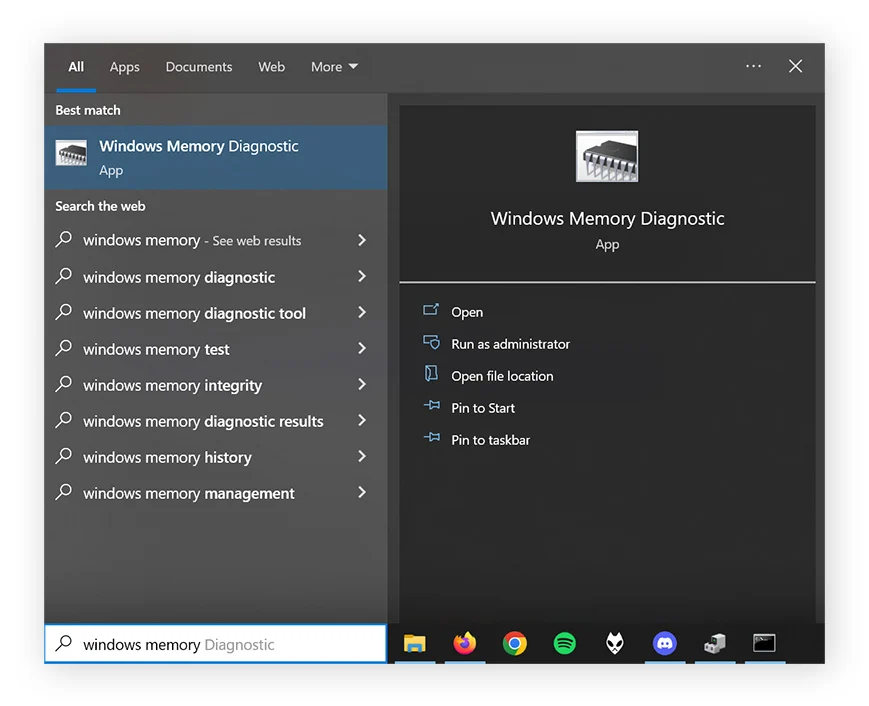
To check if your computer’s RAM is functioning correctly, press the Windows key, type “Windows Memory Diagnostic,” and press Enter.
Then, click Restart now and check for problems (recommended) when you’re ready.
The results of the diagnostic will show as soon as your computer starts up again. If you would like to refer to them again, you can view them in the Event Viewer.