Upgrade & Secure Your Future with DevOps, SRE, DevSecOps, MLOps!

We spend hours on Instagram and YouTube and waste money on coffee and fast food, but won’t spend 30 minutes a day learning skills to boost our careers.
Master in DevOps, SRE, DevSecOps & MLOps!

Learn from Guru Rajesh Kumar and double your salary in just one year.


Get Started Now!

Error: LinkageError class file versions up to 55.0

Error: LinkageError occurred while loading main class com.android.sdklib.tool.sdkmanager.SdkManagerCli
java.lang.UnsupportedClassVersionError: com/android/sdklib/tool/sdkmanager/SdkManagerCli has been compiled by a more recent version of the Java Runtime (class file version 61.0), this version of the Java Runtime only recognizes class file versions up to 55.0

Go to the Oracle website’s Java SE download page: https://www.oracle.com/java/technologies/javase-jdk11-downloads.html

Scroll down the page to find the JDK 11 section.

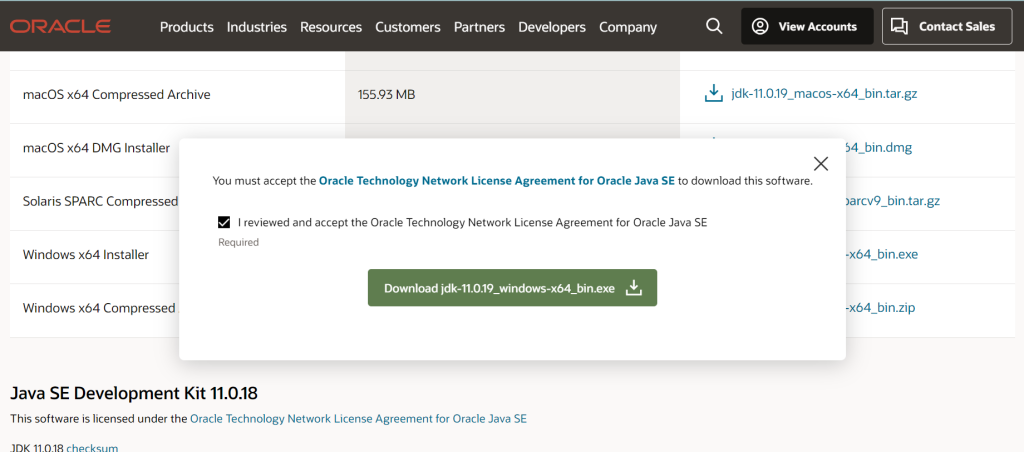
Click on the “Oracle JDK License Agreement” checkbox to accept the license agreement. Choose the download link that corresponds to your operating system. There are usually options for Windows, macOS, and Linux. If prompted, you may need to sign in with your Oracle account. If you don’t have one, you can create a free Oracle account to proceed with the download. Once you’ve accepted the license and signed in (if necessary), click on the download link to save the JDK installer file to your computer.

For some development environments or build tools, it’s helpful to set the JAVA_HOME environment variable to point to your JDK 11 installation directory. This step is optional but can be useful for certain development tasks.

On Windows:

  • Open the Control Panel.
  • Go to System and Security > System > Advanced system settings.
  • Click on the “Environment Variables” button.
  • Under “System Variables,” click “New.”
  • Set the Variable Name to JAVA_HOME.
  • Set the Variable Value to the path where JDK 11 is installed (e.g., “C:\Program Files\Java\jdk-11.x.x”).
  • Click “OK” to save the changes.

To confirm that JDK 11 is installed correctly, open a new terminal or command prompt and run the following command:

java -version

You should see the JDK version information displayed, confirming that JDK 11 is now installed on your system.

Related Posts

How We Fixed “sonar-scanner: command not found” and Successfully Analyzed Our Project with SonarQube

Running static code analysis with SonarQube is essential for maintaining clean, quality code. Recently, while working on our Laravel microservice project mhn-doctors-ms, we hit a common yet…

Is SonarQube Community free Edition Good for Laravel Projects?

When working on web development projects using Laravel, JavaScript, and jQuery, maintaining code quality becomes just as important as building features. That’s where tools like SonarQube come…

Laravel Throttle Middleware: How to Increase API Rate Limit Safely and for 429 Too Many Requests

If you’re working with Laravel APIs, you might have encountered this default throttle setting: This line lives in your app/Http/Kernel.php file and controls how many requests a…

Fixing MySQL Error: Incorrect Definition of mysql.column_stats Table

The Problem While working on your MySQL server, you might come across this error in your error log: This error usually shows up after an upgrade or…

Fixing Laravel Migration Error: “Unknown Collation: utf8mb4_0900_ai_ci”

While working with Laravel and MySQL, you might run into an error during migrations like this one: Why This Happens The collation utf8mb4_0900_ai_ci is introduced in MySQL…

Why Dental Surgery Is Good and Important

Dental health plays a vital role in our overall well-being, yet it’s often overlooked until problems become serious. Dental surgery is a powerful solution that not only…

0 0 votes
Article Rating
Subscribe
Notify of
guest
0 Comments
Inline Feedbacks
View all comments
0
Would love your thoughts, please comment.x
()
x