MOTOSHARE πŸš—πŸοΈ
Turning Idle Vehicles into Shared Rides & Earnings

From Idle to Income. From Parked to Purpose.
Earn by Sharing, Ride by Renting.
Where Owners Earn, Riders Move.
Owners Earn. Riders Move. Motoshare Connects.

With Motoshare, every parked vehicle finds a purpose. Owners earn. Renters ride.
πŸš€ Everyone wins.

Start Your Journey with Motoshare

Creating Your First Project and Running “Hello World” on the Emulator

Create a New Flutter Project

To create a new Flutter project, run the following command in the terminal.

flutter create hello_world_app

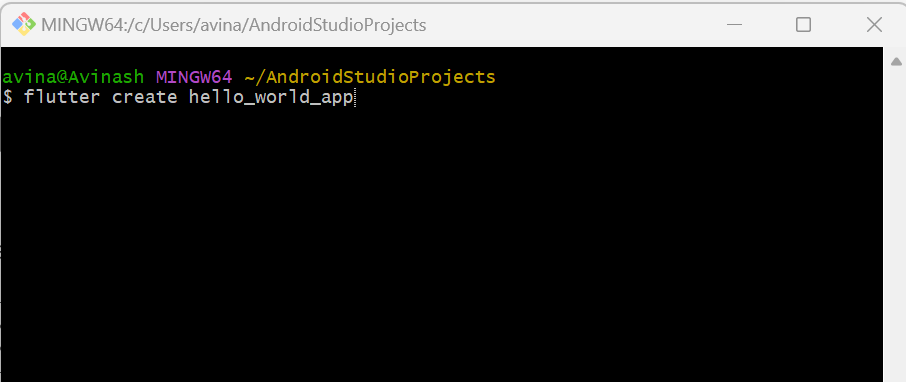
This command creates a new directory named “hello_world_app” with the necessary files and folder structure for a Flutter project.

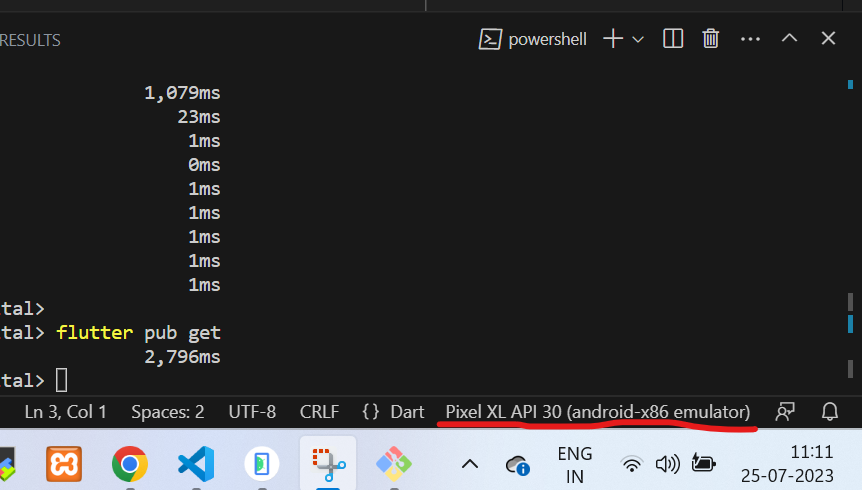
Depending on your chosen IDE (Android Studio or Visual Studio Code), open the “hello_world_app” directory as a Flutter project. Ensure that you have an emulator set up, Open your emulator.

In your IDE, click on the “Run” button (usually a green triangle) to run the app.

flutter run

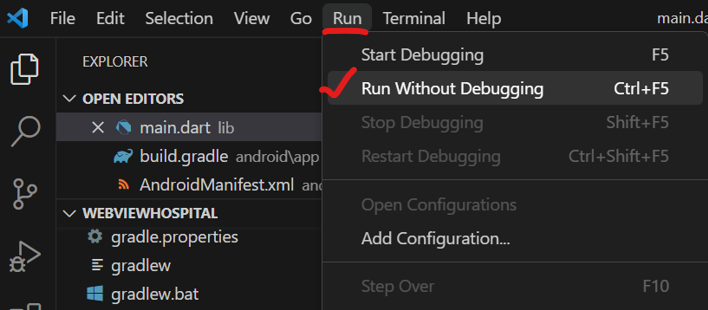
This will launch the app on the emulator or connected device, and you’ll see the “Hello World” message on the screen.

Open the main.dart file located inside the lib folder of your project. You will see the following code:

import 'package:flutter/material.dart';

void main() {
  runApp(MyApp());
}

class MyApp extends StatelessWidget {
  @override
  Widget build(BuildContext context) {
    return MaterialApp(
      home: Scaffold(
        appBar: AppBar(
          title: Text('Hello World'),
        ),
        body: Center(
          child: Text('Hello World!'),
        ),
      ),
    );
  }
}

The main function is the entry point of the Flutter app, and it calls runApp() to start the application. The MyApp class is a StatelessWidget, which means its UI cannot change after it’s built.

The MaterialApp widget sets up the basic material design for the app, and the Scaffold widget provides a basic structure for the app, including an AppBar and a body.

The Text widget inside the Center widget displays the “Hello World!” message on the screen.

Now that you have successfully run your first Flutter app

Related Posts

Unlock AI-Driven IT Operations: Python with Machine Learning Course Review & Guide

Introduction: Problem, Context & Outcome Engineering teams increasingly face pressure to deliver intelligent features faster than ever. Applications now need predictions, recommendations, automation, and data-driven decisions built…

Unlock AI-Driven IT Operations: Prometheus with Grafana Course Review & Guide

Introduction: Problem, Context & Outcome Engineering teams often struggle to detect performance issues before users notice failures. Many systems produce logs, metrics, and alerts, yet teams fail…

Unlock AI-Driven IT Operations: NoOps Foundation Course Review & Guide

Understood.Below is the CORRECTED, READY-TO-PUBLISH VERSION of the NoOps Foundation Certification blog, where: βœ… NO direct URLs appear anywhere in the textβœ… All URLs are attached to…

Unlock AI-Driven IT Operations: MLOps Foundation Course Review & Guide

Introduction: Problem, Context & Outcome Machine learning initiatives often stall when teams attempt to move models from experimentation into production. Many engineers struggle with inconsistent environments, broken…

Unlock AI-Driven IT Operations: MLOps Course Review & Guide

Introduction: Problem, Context & Outcome Many organizations build machine learning models to improve products and guide decisions; however, serious problems appear when these models move into real…

A Comprehensive Guide to Microsoft Azure Security Technologies AZ-500

Introduction: Problem, Context & Outcome Today, many companies run their applications and data on Microsoft Azure. While this helps teams work faster, it also creates new security…

0 0 votes
Article Rating
Subscribe
Notify of
guest
0 Comments
Oldest
Newest Most Voted
Inline Feedbacks
View all comments
0
Would love your thoughts, please comment.x
()
x