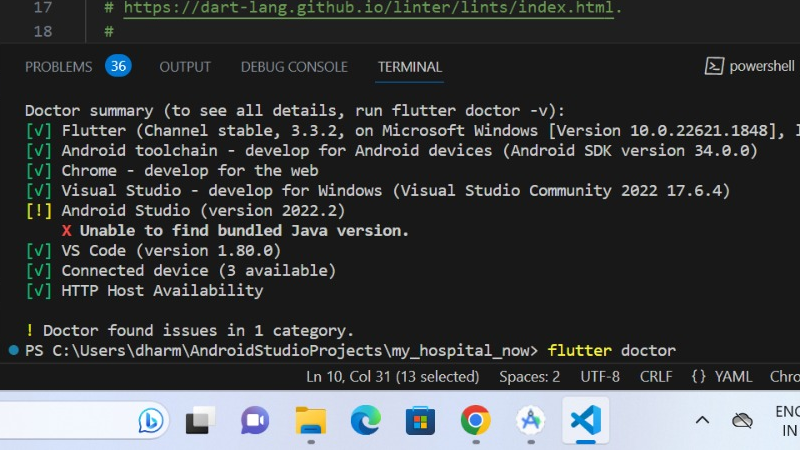
If you are encountering the error “Unable to find bundled Java version” in Android Studio, it typically means that Android Studio is unable to locate the Java Development Kit (JDK) that comes bundled with it. This issue can be resolved by setting the correct JDK path.
Ensure you are using the latest version of Android Studio. Older versions might have issues with Java compatibility. Navigate to the installation directory of Android Studio and find the “jre” folder. The bundled JDK is usually located in the “jre” directory inside the Android Studio installation folder.
Now, you need to specify the JDK path in Android Studio. Follow these steps:
Open Android Studio.
Go to “File” > “Project Structure” . In the left sidebar, click on “SDK Location.” Look for the “JDK Location” field and click on the ellipsis button (“…”) next to it.
Browse and select the “jre” folder , Click “OK” or “Apply” to save the changes.
After updating the JDK path, restart Android Studio for the changes to take effect.