Ensuring your Android application has the necessary permissions to access the internet is crucial, especially when dealing with network operations. In this guide, we’ll walk you through the simple process of adding internet permission to your Android app by modifying the AndroidManifest.xml file.
Locate AndroidManifest.xml
Navigate to your Android project’s directory and follow the path: app -> src -> main -> AndroidManifest.xml. This file contains essential configuration settings for your Android application.
Copy the Permission Code
Copy the following line of code which grants internet permission to your app:
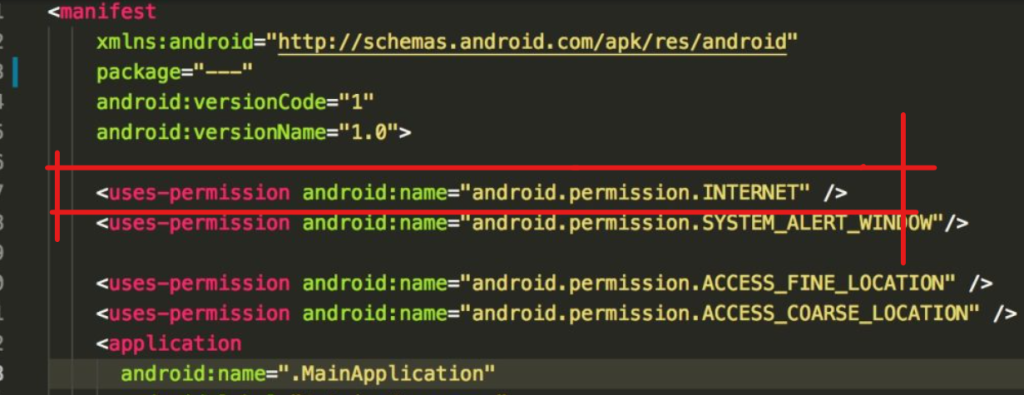
<uses-permission android:name="android.permission.INTERNET"/>
Insert the Code in AndroidManifest.xml
Paste the copied line of code inside the <manifest> tag in your AndroidManifest.xml file. Ensure it is placed just before the <application> tag. Here’s an example:
<?xml version="1.0" encoding="utf-8"?>
<manifest xmlns:android="http://schemas.android.com/apk/res/android"
    package="com.example.popupmenu">
    <uses-permission android:name="android.permission.INTERNET"/>
    <application
        android:allowBackup="true"
        android:icon="@mipmap/ic_launcher"
        android:label="@string/app_name"
        android:roundIcon="@mipmap/ic_launcher_round"
        android:supportsRtl="true"
        android:theme="@style/Theme.PopupMenu">
        <!-- Your app's activities and configurations go here -->
        <activity android:name=".MainActivity">
            <intent-filter>
                <action android:name="android.intent.action.MAIN" />
                <category android:name="android.intent.category.LAUNCHER" />
            </intent-filter>
        </activity>
    </application>
</manifest>
Hope, successfully added internet permission to your Android app.