Error: LinkageError occurred while loading main class com.android.sdklib.tool.sdkmanager.SdkManagerCli
java.lang.UnsupportedClassVersionError: com/android/sdklib/tool/sdkmanager/SdkManagerCli has been compiled by a more recent version of the Java Runtime (class file version 61.0), this version of the Java Runtime only recognizes class file versions up to 55.0
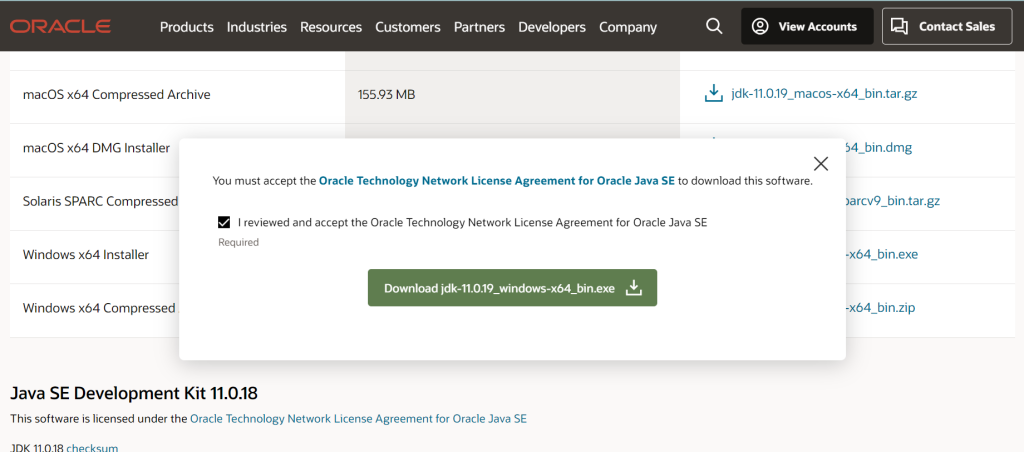
Go to the Oracle website’s Java SE download page: https://www.oracle.com/java/technologies/javase-jdk11-downloads.html
Scroll down the page to find the JDK 11 section.

Click on the “Oracle JDK License Agreement” checkbox to accept the license agreement. Choose the download link that corresponds to your operating system. There are usually options for Windows, macOS, and Linux. If prompted, you may need to sign in with your Oracle account. If you don’t have one, you can create a free Oracle account to proceed with the download. Once you’ve accepted the license and signed in (if necessary), click on the download link to save the JDK installer file to your computer.
For some development environments or build tools, it’s helpful to set the JAVA_HOME environment variable to point to your JDK 11 installation directory. This step is optional but can be useful for certain development tasks.
On Windows:
- Open the Control Panel.
- Go to System and Security > System > Advanced system settings.
- Click on the “Environment Variables” button.
- Under “System Variables,” click “New.”
- Set the Variable Name to
JAVA_HOME. - Set the Variable Value to the path where JDK 11 is installed (e.g., “C:\Program Files\Java\jdk-11.x.x”).
- Click “OK” to save the changes.
To confirm that JDK 11 is installed correctly, open a new terminal or command prompt and run the following command:
java -version
You should see the JDK version information displayed, confirming that JDK 11 is now installed on your system.
[…] error-linkageerror-class-file-versions-up-to-55-0 […]