Launch Visual Studio Code and open the command palette (with F1 or Ctrl+Shift+P or Shift+Cmd+P). Start typing “flutter new”. Select the Flutter: New Project command.

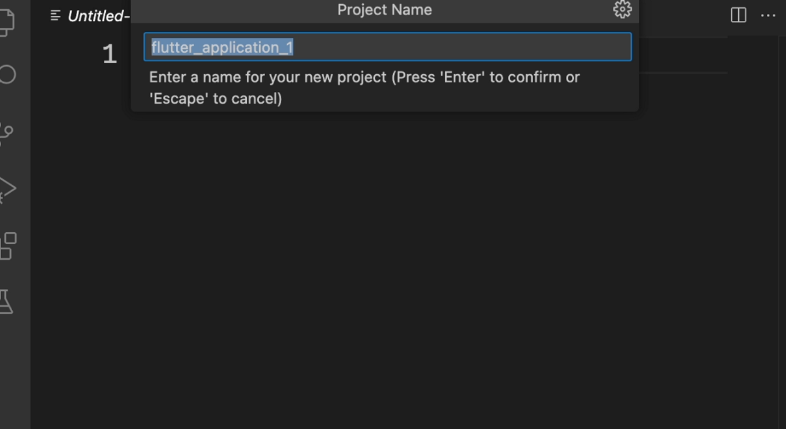
Next, select Application and then a folder in which to create your project. This could be your home directory, or something like C:\src\. Finally, name your project. Something like name_app
Flutter now creates your project folder and VS Code opens it. You’ll now overwrite the contents of 3 files with a basic scaffold of the app. Copy & Paste the initial app
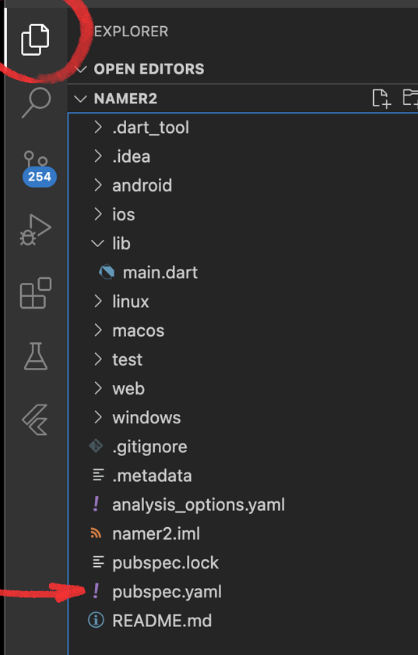
In the left pane of VS Code, make sure that Explorer is selected, and open the pubspec.yaml file.
Replace the contents of this file with the following:
In pubspec.yaml
name: namer_app
description: A new Flutter project.

publish_to: 'none' # Remove this line if you wish to publish to pub.dev

version: 0.0.1+1

environment:
  sdk: '>=2.19.4 <4.0.0'

dependencies:
  flutter:
    sdk: flutter

  english_words: ^4.0.0
  provider: ^6.0.0

dev_dependencies:
  flutter_test:
    sdk: flutter

  flutter_lints: ^2.0.0

flutter:
  uses-material-design: true
The pubspec.yaml file specifies basic information about your app, such as its current version, its dependencies, and the assets with which it will ship.
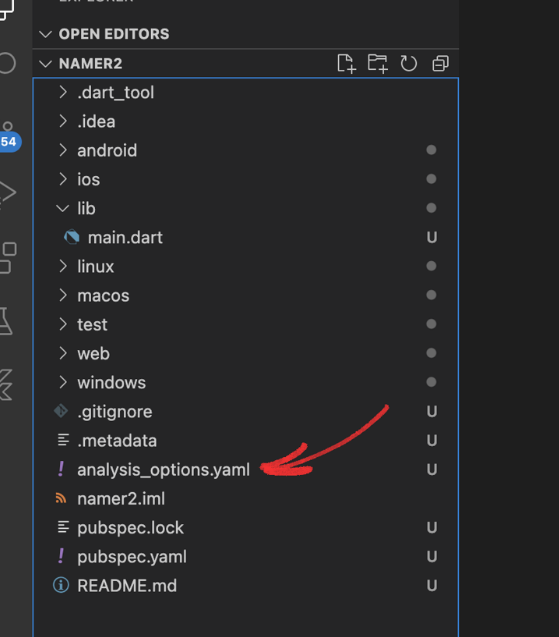
Next, open another configuration file in the project, analysis_options.yaml.
Replace its contents with the following:
analysis_options.yaml
include: package:flutter_lints/flutter.yaml
linter:
rules:
prefer_const_constructors: false
prefer_final_fields: false
use_key_in_widget_constructors: false
prefer_const_literals_to_create_immutables: false
prefer_const_constructors_in_immutables: false
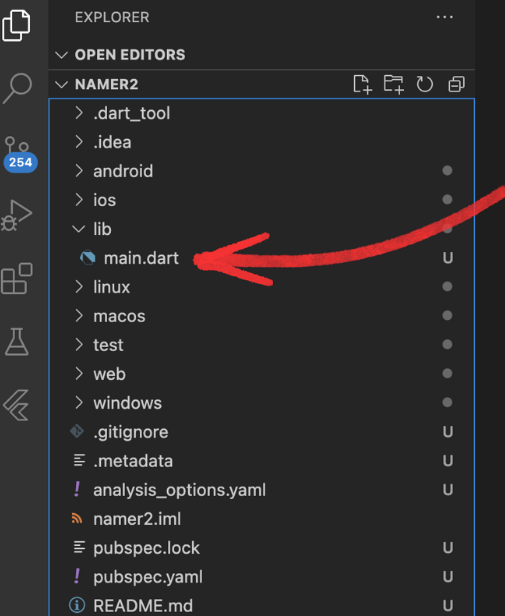
avoid_print: falseThis file determines how strict Flutter should be when analyzing your code. Since this is your first foray into Flutter, you’re telling the analyzer to take it easy. You can always tune this later. In fact, as you get closer to publishing an actual production app, you will almost certainly want to make the analyzer stricter than this. Finally, open the main.dart file under the lib/ directory.
Replace the contents of this file with the following:
lib/main.dart
import 'package:english_words/english_words.dart';import 'package:flutter/material.dart';import 'package:provider/provider.dart';void main() { runApp(MyApp());}class MyApp extends StatelessWidget { const MyApp({super.key}); @override Widget build(BuildContext context) { return ChangeNotifierProvider( create: (context) => MyAppState(), child: MaterialApp( title: 'Namer App', theme: ThemeData( useMaterial3: true, colorScheme: ColorScheme.fromSeed(seedColor: Colors.deepOrange), ), home: MyHomePage(), ), ); }}class MyAppState extends ChangeNotifier { var current = WordPair.random();}class MyHomePage extends StatelessWidget { @override Widget build(BuildContext context) { var appState = context.watch<MyAppState>(); return Scaffold( body: Column( children: [ Text('A random idea:'), Text(appState.current.asLowerCase), ], ), ); }}