To install Android Studio, follow these steps:
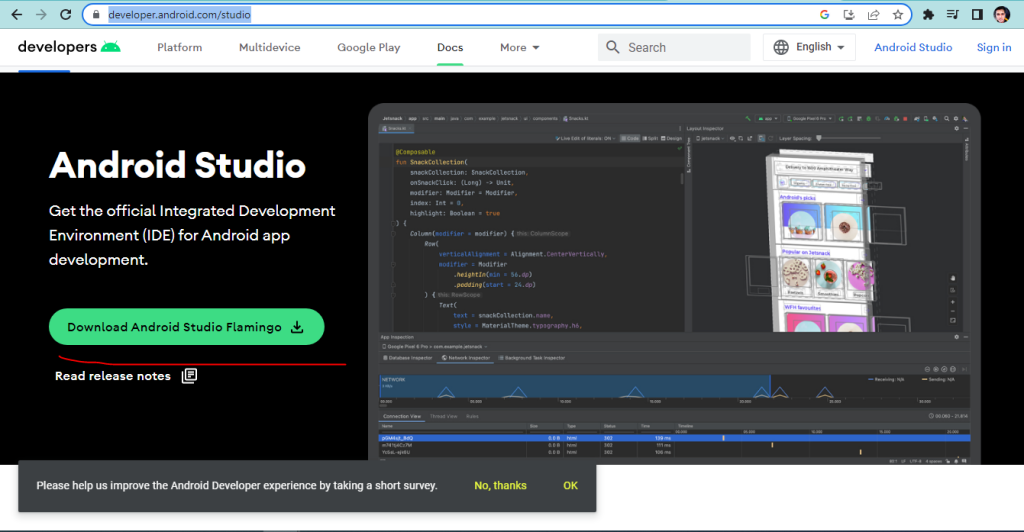
- Visit the official Android Studio website at https://developer.android.com/studio.
- Click on the “Download Android Studio” button.
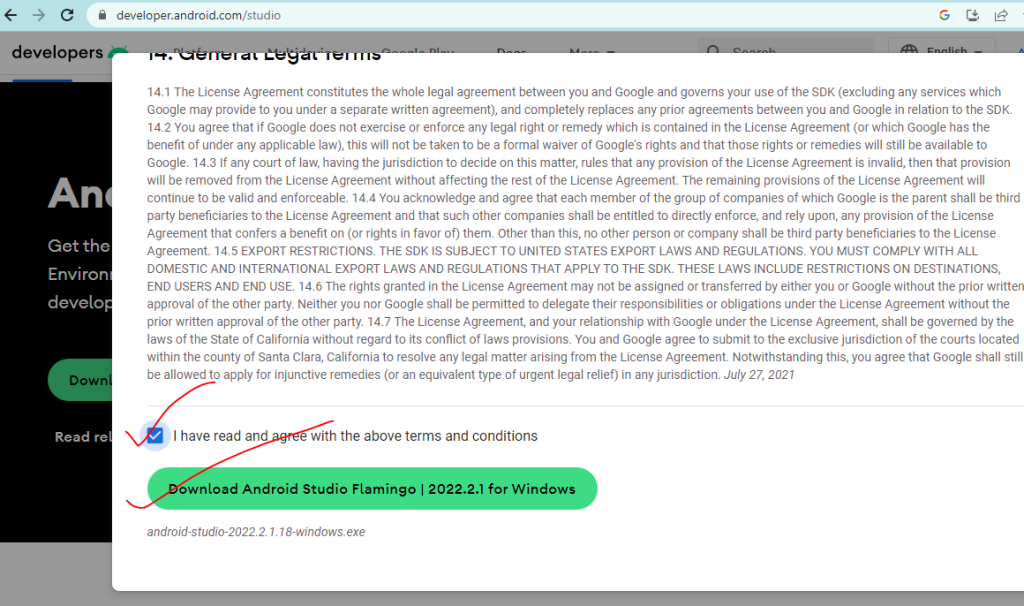
- Choose the appropriate version for your operating system (Windows, macOS, or Linux).

- Accept the terms and conditions.
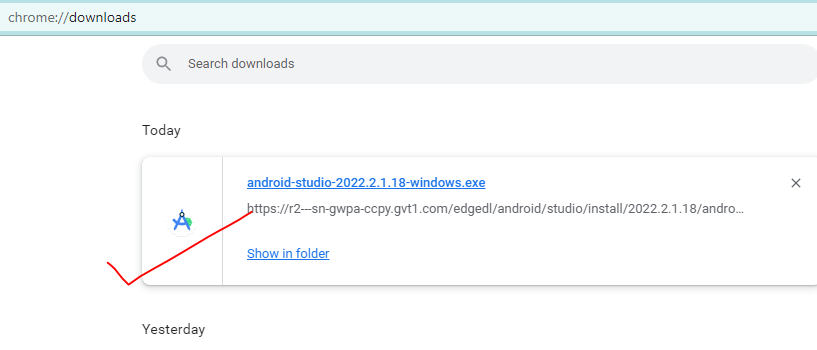
- Once the download is complete, run the installer executable file.
- Follow the on-screen instructions to proceed with the installation.

- When prompted, select the “Standard” installation type unless you have specific requirements.
- Click “Next” to continue.
- The installer will display a list of components to install.
- Leave the default components selected, as they include essential tools for Android development.
- Optionally, you can install additional components or modify the installation location.
- Click “Next” to proceed.

- Right click on your downloaded file and Run as administrator


- Android Studio includes the Android Virtual Device (AVD) Manager for running and testing Android apps on virtual devices.
- Check the box to install the AVD and select the desired system image to be used for emulation.
- Click “Next” to continue.

Now wait for complete installation

Here your setup is Finish Now you can move to your installed Android studio

If you want to Config installation directory then select “Config or installation directory” option.
Otherwise you can select” Do not import settings”.

You have two options to choose install type “standard” and “Custom” in standard studio will be installed with common settings and options.
And, In Custom you can customize installation setting.
Most users recommended option is “Standard” .


Carefully read License Agreement and then Accept terms and conditions.

Now, your studio is ready.